Getting started and your account
This guide covers the first few minutes: creating an account from an invite link, the short welcome tour, the optional about-you step, connecting an exchange now or later, and editing your details on the Profile page.
Create your account from an invite
Vecktor is invite-only during the private beta. The invite email has a Create your account link that opens the sign-up form for you. Without that link, the sign-up form is walled and sends you to the waitlist.
- Open your invite email and click the Create your account link. It carries an invite code that unlocks the form.
- Wait a moment on the Opening your sign-up screen. It forwards you to the sign-up form.
- Type your First name. This is required and is what the dashboard greets you with.
- Type your Email, then a Password (the field asks you to create a password of 8 or more characters).
- Set Display name (optional), Phone (optional, for support), and Trader experience if you want. All three are optional.
- Click Create account. We email a verification link to that address.
- Open your inbox and click the verification link. The screen shows Check your inbox while you wait.
- Start from the invite link (it unlocks the walled form)
- Type your first name (required, used in the greeting)
- Type your invited email (the access list checks this)
- Set a password of 8 or more (or use Continue with Google)
- Click Create account →
- Open the verification email (the screen shows Check your inbox)
Or continue with Google
If you would rather not set a password, the sign-up form also has a Continue with Google button.
- Click Continue with Google on the sign-up or sign-in screen.
- Pick the Google account that matches your invited email.
- Come back to Vecktor once Google sends you back.
Take the welcome tour
The first time you log in, Vecktor opens a short tour. It is a set of cards that show what the product does. Nothing on the tour is required, and you can leave at any point.
- Read the Welcome card, then click Start the tour.
- Step through the four feature cards: Compose (turn a sentence into a strategy), Talk to the backtest (an AI analyst on your result), Payoff preview (see live Greeks before you trade), and Kill-switch (loss and size limits Vecktor enforces before any order leaves).
- Click Next to move forward, or Back to revisit a card.
- Watch the row of progress bars at the top to see how far along you are.
- Click Start the tour →
- Read the Compose card (runs on AI credits)
- Read the Payoff preview card (see Greeks live before you commit)
- Read the Kill-switch card (free, enforced by Vecktor)
- Click Skip tour → to leave (it will not reappear)
Skip the tour
You never have to finish the tour. There are two ways out and both drop you straight into the app.
- Click Skip tour in the top bar to leave from any card.
- Or on the first card, click Skip to terminal.
- Either way you land on the dashboard, and the tour will not reappear on your next login.
Fill in the optional about-you step
After the welcome card the tour offers an About you step. It asks a few details so Vecktor can tailor itself to how you trade. Every field is optional.
- Type your First name and Last name if you want. First name may already be filled in from sign-up.
- Open What best describes you? and pick the option that fits, for example Options trader or Algo trader.
- Tap Beginner, Intermediate, or Pro under Experience. Tap it again to clear it.
- Click Continue → to save and move on, or Skip to move on without saving.
- Pick what describes you (the What best describes you? dropdown)
- Tap an Experience level (tap again to clear it)
- Click Continue → to save
- Or click Skip (moves on without saving)
Connect an exchange now or later
The last tour card is Connect, headed Optional: connect Delta India now. Backtesting is free and works with no exchange key at all. You only need a key to run live bots or trade options.
- Decide now or later. To do it now, follow the four-step guide on the Connect card to create a key, set its permissions, whitelist your IP (allow only your network), and validate it.
- Note connecting keys never places an order by itself - you always set size and confirm before anything goes live.
- Or click I'll connect later, go to dashboard to enter the app without a key.
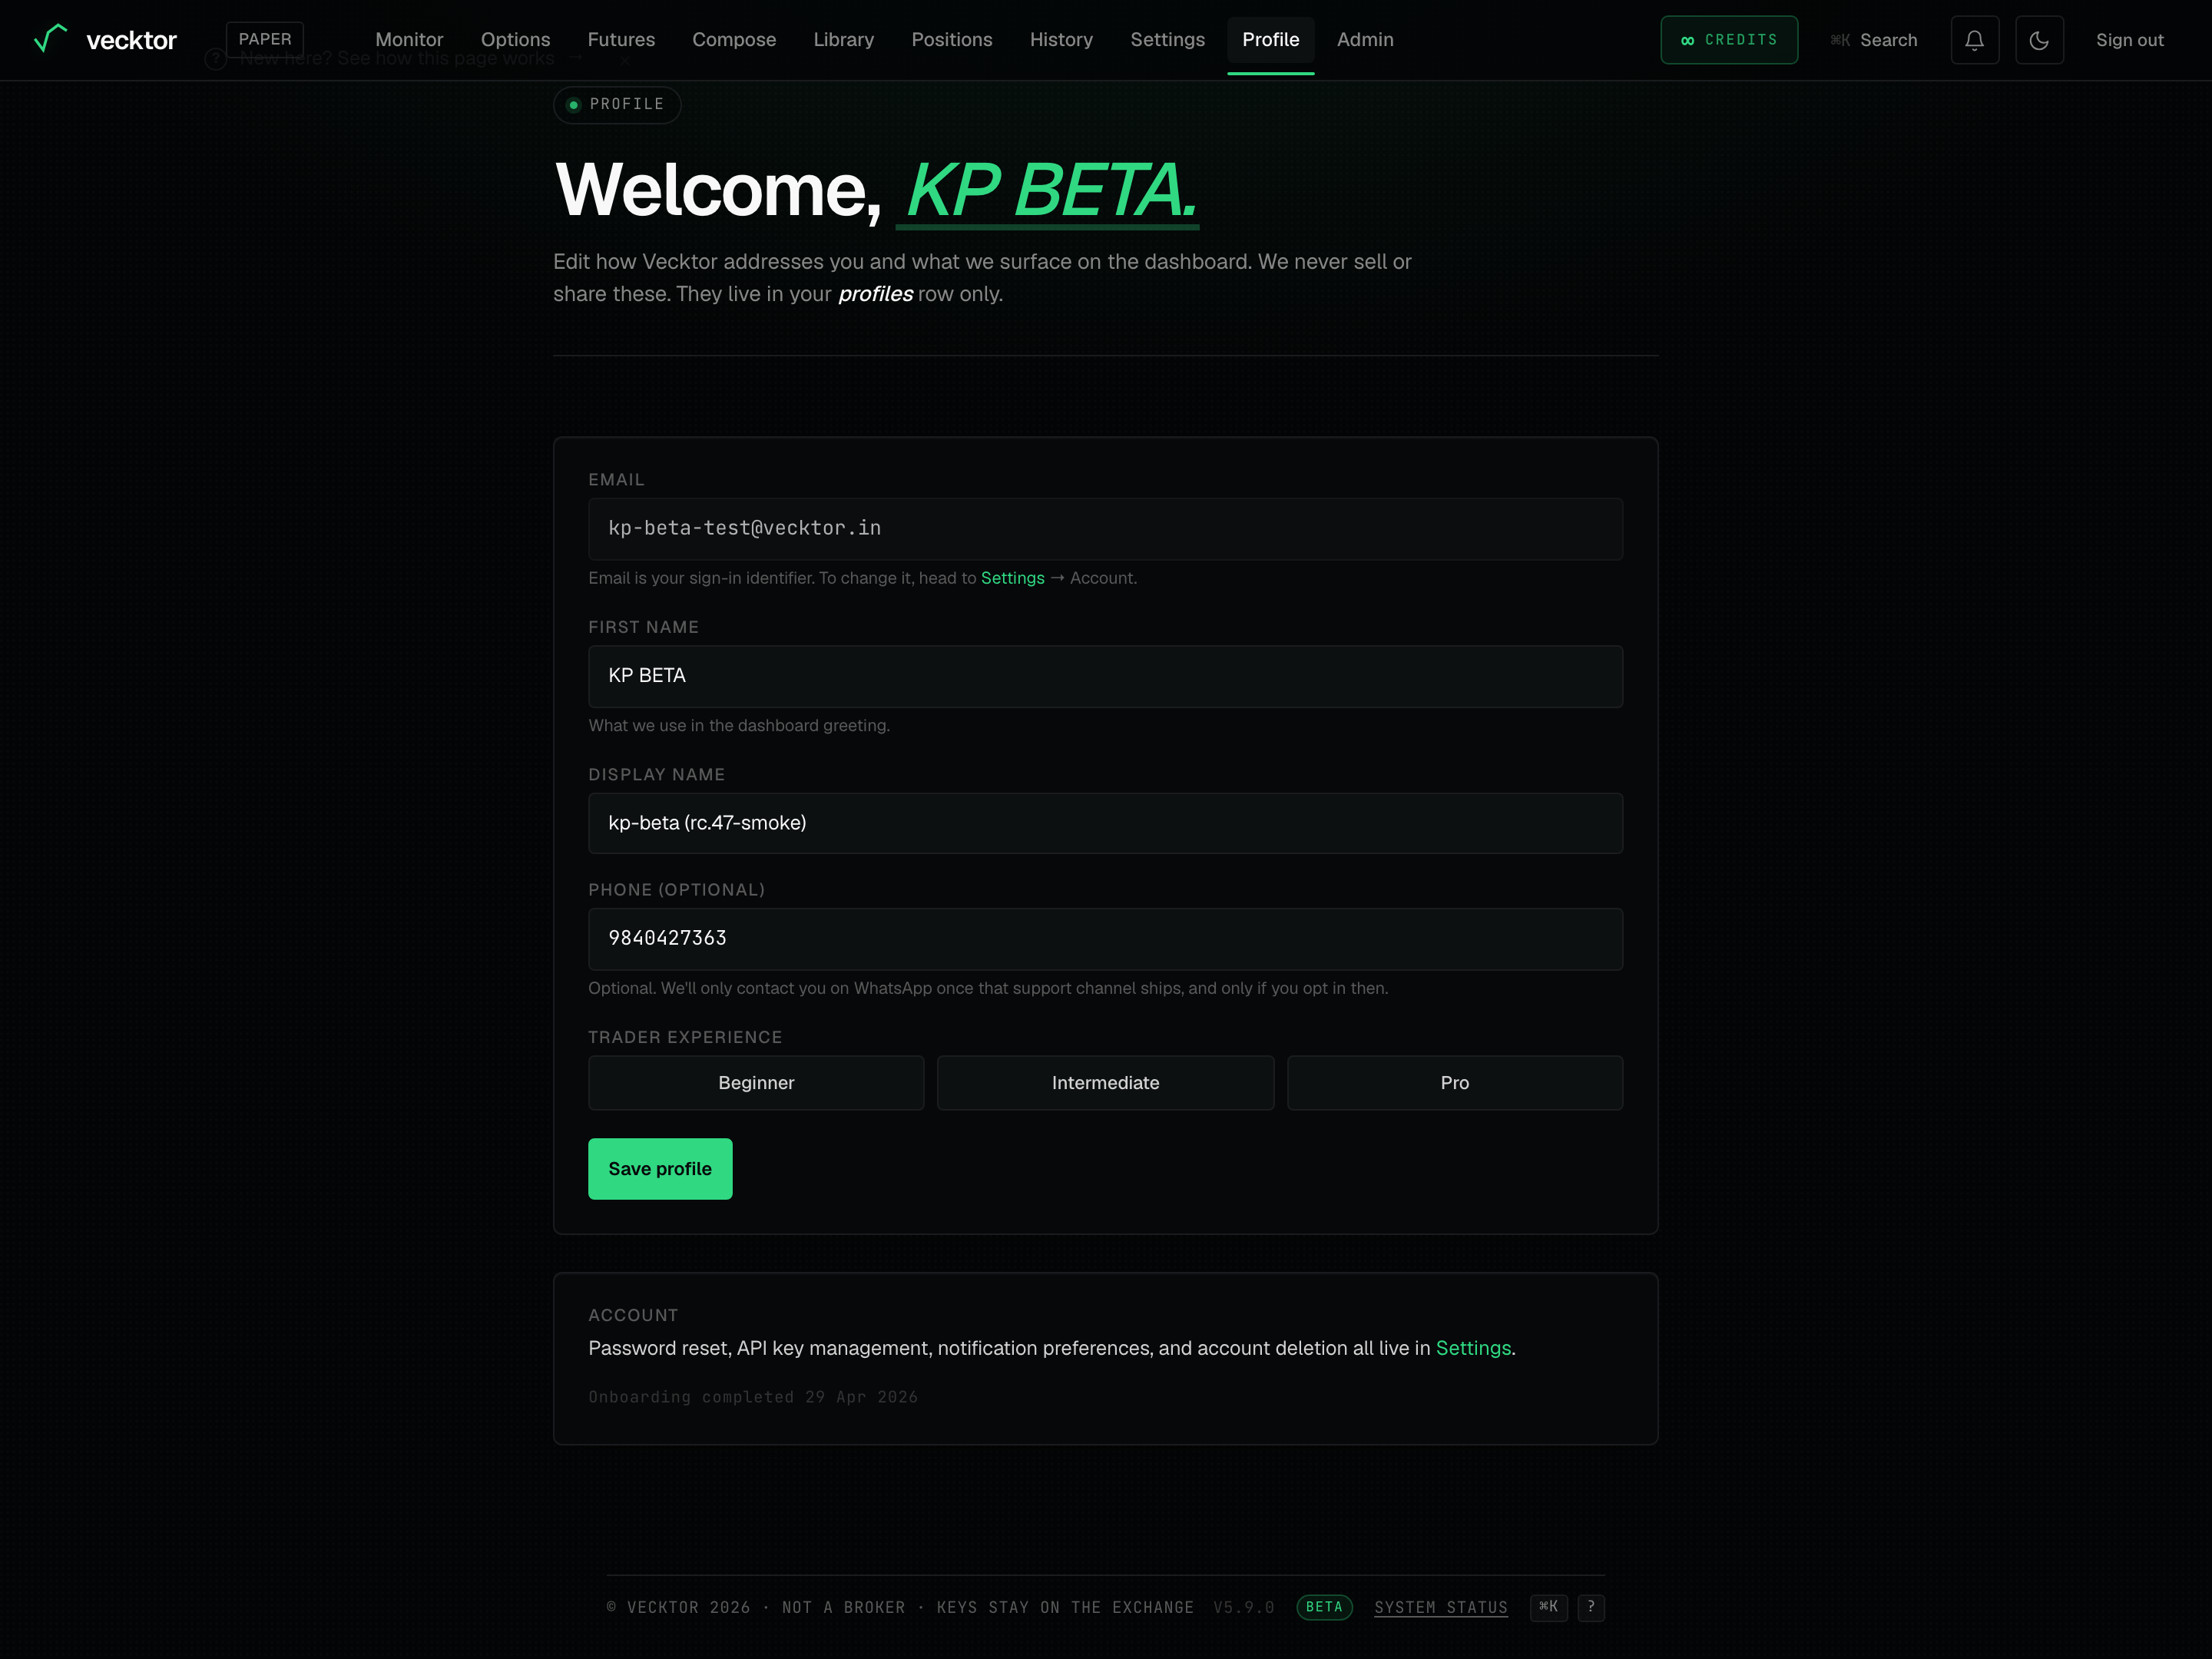
Edit your details on Profile
The Profile page is your identity page. It is where you change how Vecktor addresses you and what it shows on the dashboard. The Account card here points out that password reset, API key management, notification preferences, and account deletion all live in Settings, not on this page.
- Open Profile from the menu.
- Read your Email at the top. It is read-only here because it is your sign-in identifier. The note tells you to head to Settings, then Account, to change it.
- Edit First name. This is the name in the dashboard greeting.
- Set Display name if you want something other than your first name. Left blank, it defaults to your first name.
- Add a Phone (optional) if you want. The note says we will only contact you on WhatsApp once that support channel ships, and only if you opt in then.
- Pick Beginner, Intermediate, or Pro under Trader experience. Click the selected one again to clear it.
- Click Save profile. A small ✓ saved appears next to the button.
 1Email (read-only sign-in ID)2Beginner / Intermediate / Pro3Save profile
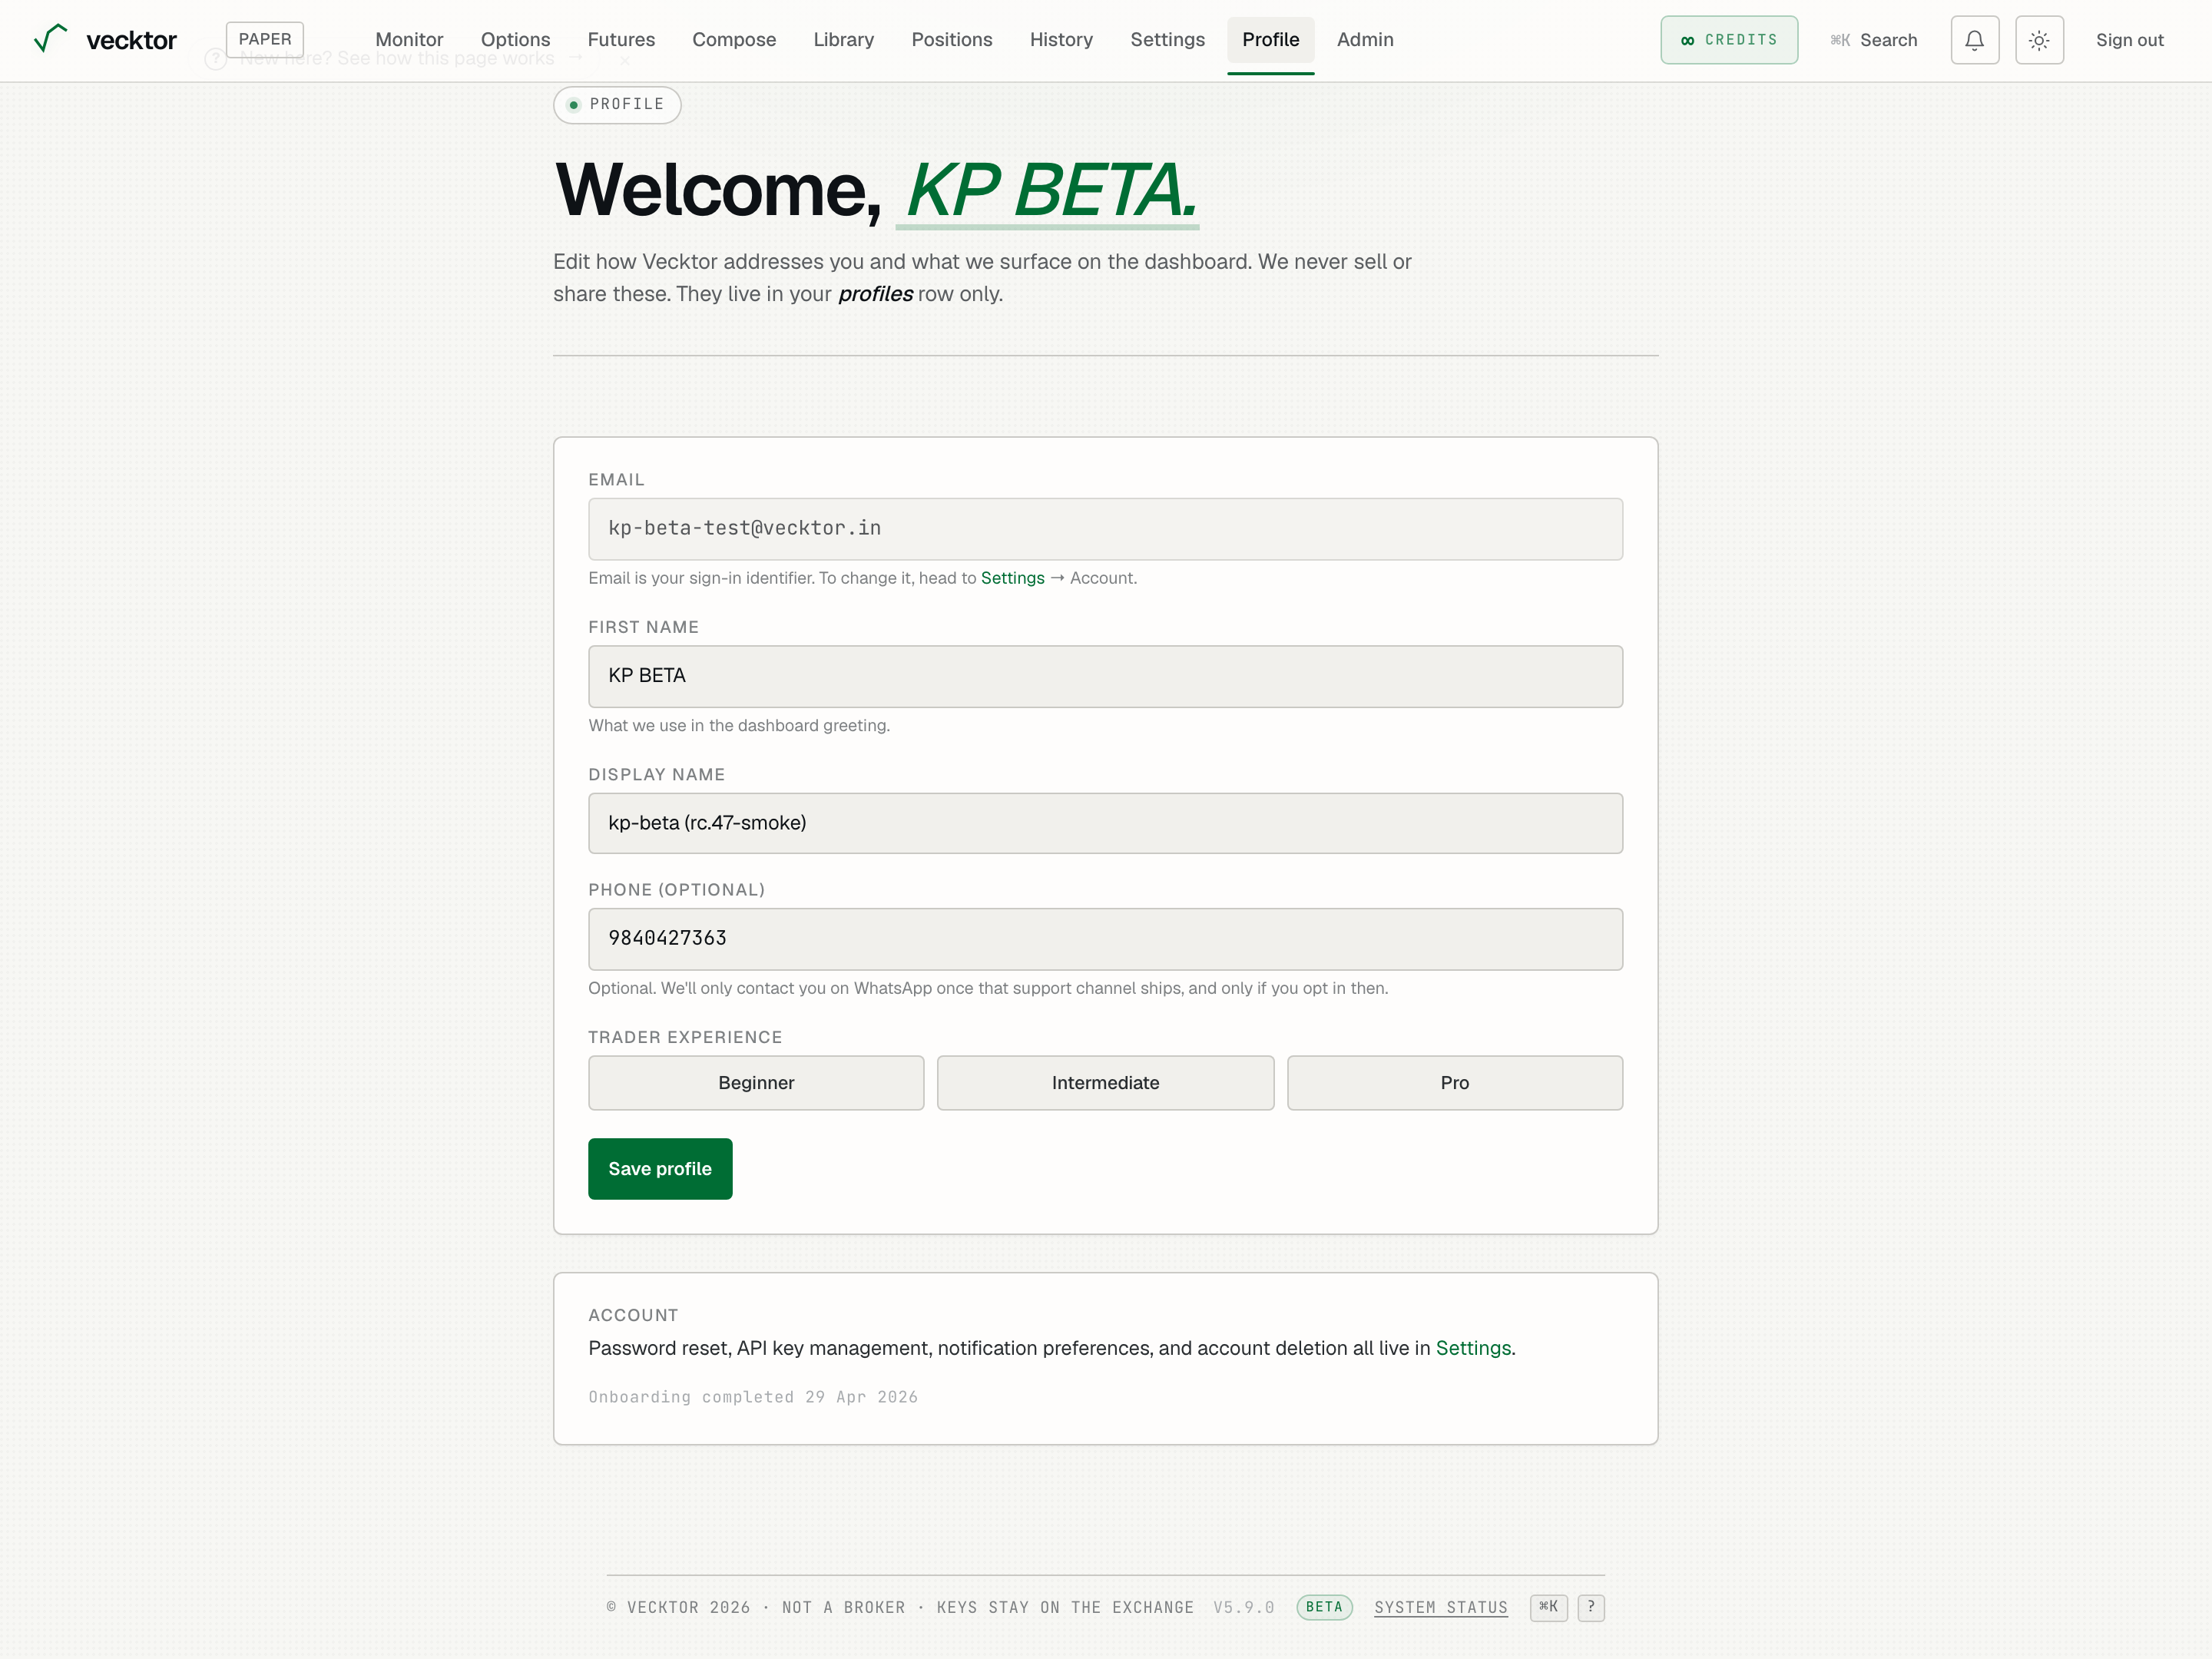
- Note the email is read-only (change it from Settings, then Account)
- Edit your first name (the dashboard greeting)
- Set a display name (blank defaults to first name)
- Pick a Trader experience (click again to clear)
- Click Save profile (a ✓ saved appears)
- Check your onboarding status (shown on the Account card)
Where to go next
Once your account exists you can use the whole app, with or without an exchange key.
- Run a backtest with no key to see honest, net-of-cost numbers (after fees and slippage, the small gap between expected and filled price).
- Connect your Delta India key when you want to run live bots or trade options.
- Set your kill-switch limits before you ever connect a live key.